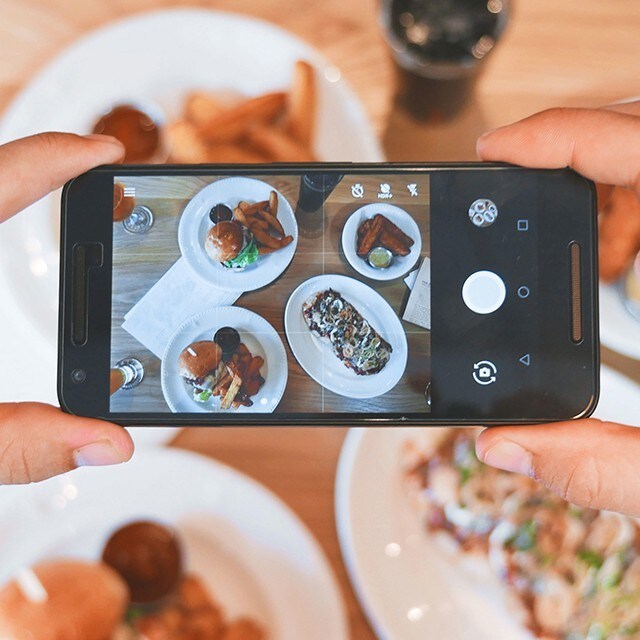
Learning social media has become essential for restaurants, not only does it connect you with people who love to come to your restaurant, it also brings in potential new diners too.
It’s a great way to showcase everything you do, but it has to be done right. One of the key factors here is of course creative food photography. Some of the many reasons why it’s so valuable – it builds trust and credibility; it builds your brand and tells a story, and it speaks an international language. The visuals can also be used to promote the restaurant on various platforms, such as: menu, website, promotional materials, and many more. If you’re looking to elevate the way you shoot your food here are a few tips.

1.Get the light right
Diffused natural light is the best, and it’s the cheapest too, no need for expensive lighting. For this you should set your plate (your subject) next to a window with the light falling on your subject from either side. Then place a diffuser between the light source (your window) and your subject. This will soften the light. Place the diffuser closer to the window than to your subject. Finally, if you need to light your subject more evenly place a reflector on other side of your scene to even out shadows. A ring light is another option, it will give each and every one of your dishes a beautiful shadowless light that showcases the colour and texture of your food.
There’s a real trend for dark, moody food photography at the moment. If you want to jump on this, we’ve put together a few tips:
- Use night mode – Whatever phone you have it’s likely that you have the option to use night mode and we recommend it for these kinds of photos. It will brighten your photos using a combination of the phone’s sensor and software.
- Use a tripod – This is a handy piece of kit regardless but especially so when shooting in night-mode as you need to keep your phone/ camera steady.
- Use a portable flashlight – Don’t be tempted to use the flash on your phone, it’ll be too stark. Instead use a small flashlight for a boost of light. You can also diffuse this light with a piece of paper if need be.

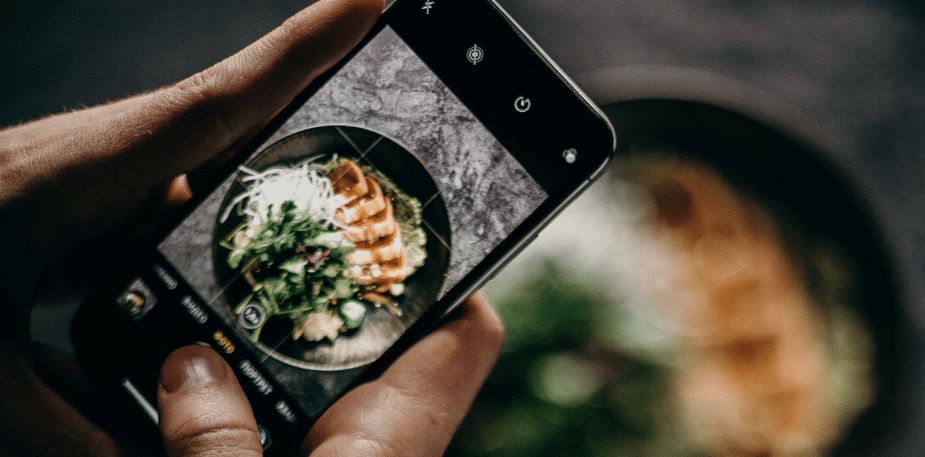
2. Find the best angle
Think about what will work best for what you’re trying to show. A top-down 90-degree angle shot will work wonders to share beautiful plating (and look great on your grid too) but using a 45-degree angle and getting close-up and on a level with the food lets you share detail such as oozy, melting cheese or a perfectly-risen soufflé. Consider getting a clamp to hold your phone securely in place – particularly handy when shooting from above!

3. Less can be more in creative food photography
Don’t always feel like you need to fill the frame with food. Sometimes just celebrating a really special, key ingredient can work wonders to show the attention to detail in every dish, without showing the dish itself. Think about seasonal or local ingredients that you’re using and put them centre stage. Create some negative space around your subject. This will allow a bit of breathing room and keep your viewers eye within the frame. A few easy tips to try out:
- Got some super fresh produce? Leave any green tops on and get someone to hold them as though they’ve just been plucked from the ground.
- Got a prime cut of red meat? Season it and come in close. Large sea salt flakes and coarse black pepper will really pop against the marbled red meat.
- Got a sheet pan? Showcase the raw ingredients for your dish by placing them in here.

4.Consider colour theory
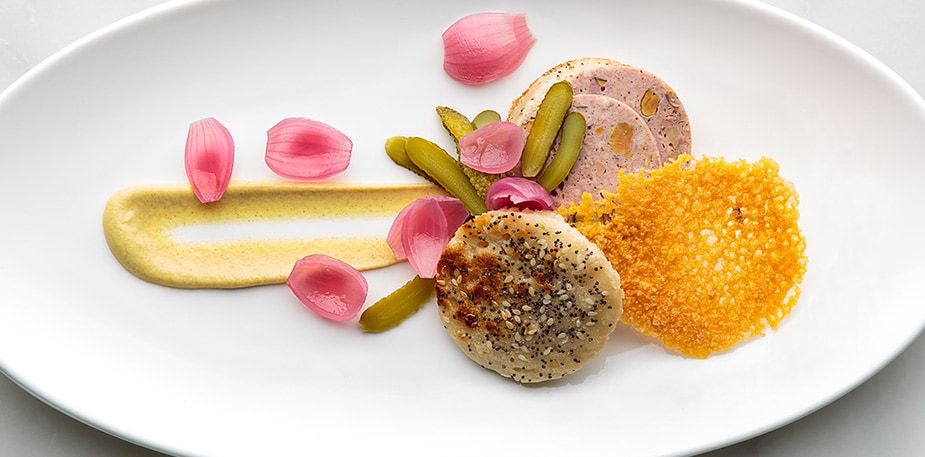
Colour theory is a set of practical guidelines to help understand how to mix colours and the effects of certain combinations. It helps to explain why some combinations work so well. The common pairings are analogous colours, complementary colours and monochromatic colours. Popular combinations when it comes to food photography are blue and orange or red and green or purple and yellow. This is something to consider when thinking about your background, which leads nicely onto...

5. In a food product photoshoot, preparation is key
Prepare some different background ideas, think about different set-ups you can use and when it comes to shooting have your lighting and background set up ready to roll before the food is ready. Food looks best when it’s fresh.
Create a scene and make sure it reflects the atmosphere of your restaurant. Mix up your location and background, some candid shots in the kitchen help to celebrate the process while in-situ at table shots give diners an idea of what they get when they’re at the restaurant. Involve flatware. Pair multiple plates together. Set the stage, create a little drama.

6. Be dynamic
Don’t always stick with stills. These are great but don’t be afraid to show the process and invite your diners into the kitchen. Show the magic of a dish being plated up or the finishing touches as a sauce is expertly poured onto a plate.

7. Always go for quality
Whatever you do, make sure every food pictures you use is taken in HD. A pixelated image won’t cut it here. Use a large aperture by setting a low f/stop like f/2.8 or f/4. Set the ISO as low as you can (100 or 200 is best), this makes up for the large amount of light let in by the wide aperture. After you’ve taken the pictures use a photo editing program to subtly adjust the brightness, warmth and colour saturation in your images. You’ll want to tweak these just enough to elevate the image without it being obvious that you’ve done so